High tech sandblasting

I’ve been sandblasting glass with Latvian designs for years, but THIS year things got HIGH TECH.

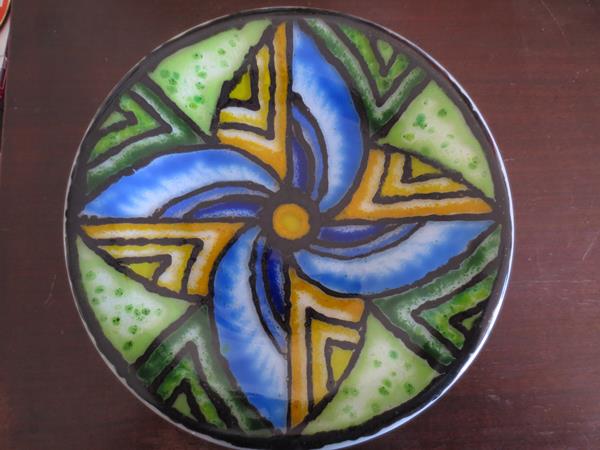
Here’s how sandblasting got high tech on me:  I’ve been learning how to use Inkscape to create vector drawings. Then I take these files to the vinyl cutter at Sector67 which cuts them out for me.  After transferring the cut vinyl to clean glass, I wrap the rest of the glass to protect it from getting sandblasted anywhere but in the cut design and head over to the sandblaster.  Sandblasting at sector has taken a little finessing to get it work well with this thinner vinyl BUT with the help of a couple sector folks and a regulator, I can tone down the PSI to a level that doesn’t destroy the vinyl or the glass. Then comes a LOT of clean-clean-cleaning and you’re left with these:
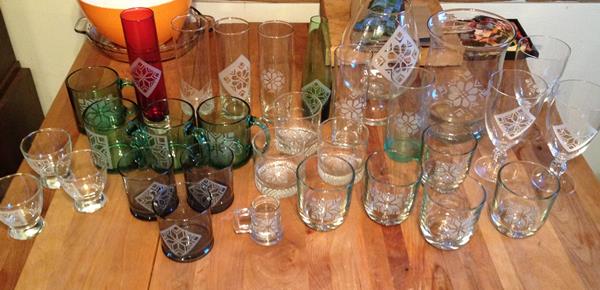
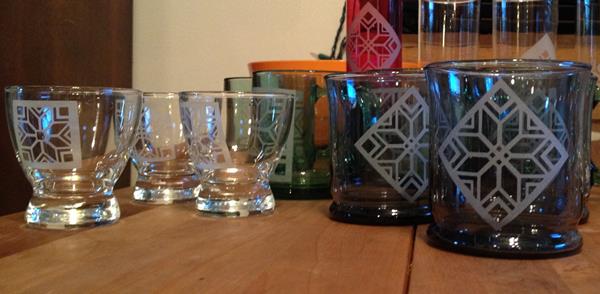


In the old way of doing this all by hand, I would spend most of my time drawing and cutting designs out with an exacto knife.  This more high tech method ends up having me spend far more time cleaning up the glass after sandblasting than before, but I think that on the whole this method ends up being faster (especially if you ignore the initial learning curve for learning new (complicated) software and machinery).
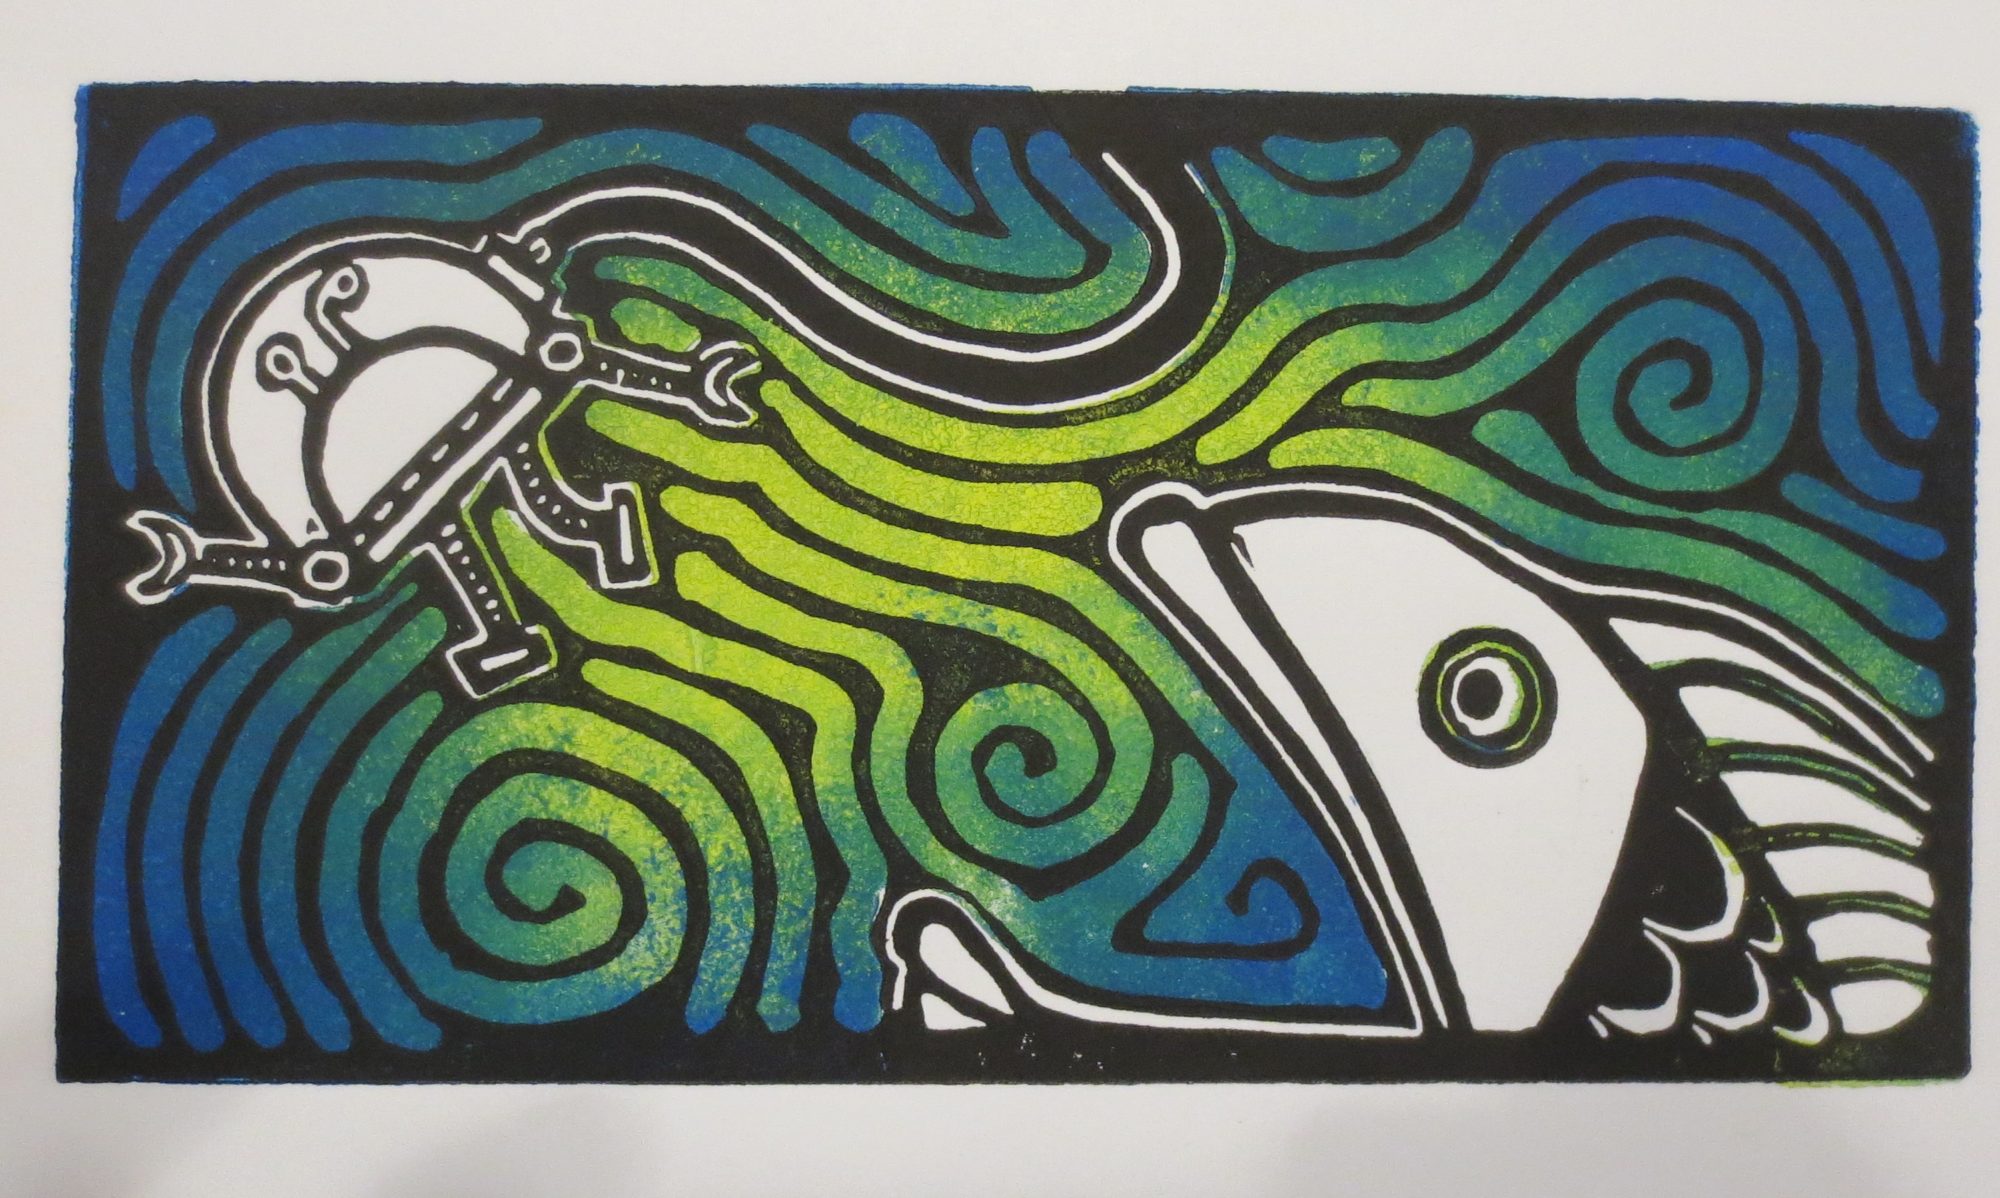
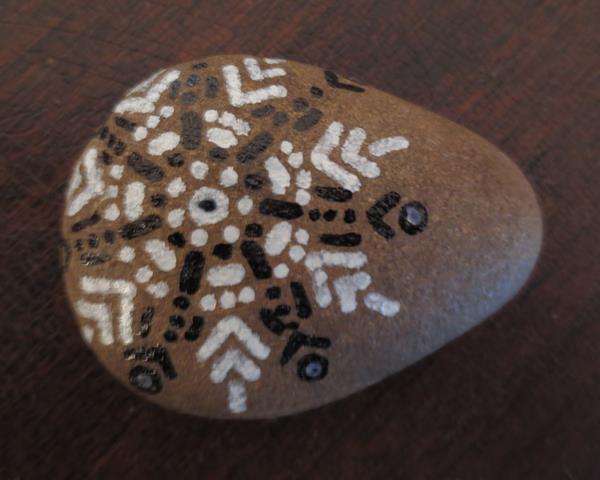
Two Mandalas

Last year I briefly played around with mandalas.


First on rocks:


Later in glass:


There might be one more made of a third kind of material coming out in 2016.

Build Madison 2015 & a stained glass window

This year I’ve met a bunch of really neat people through Sector67. One of the opportunities that they introduced me to is Build Madison. Build Madison is a great chance to meet a lot of smart, creative people who like to make things *and* get help on your project, if you need/want it. You get 24 hours to finish. Anything goes.  And you get access to the tools at Sector.  If you have a minute, check out their timelapse video of the whole 24 hour event.


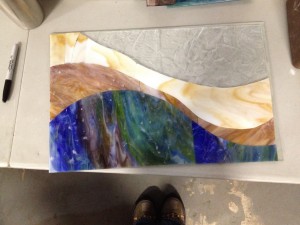
I decided it was high time to finish one of the four glass panels for my kitchen cabinet.  I didn’t really need any of the *stuff* they had at Sector to finish this but I needed the incentive to start & complete the darn thing (we’re going on year 6 of having a cabinet with clear glass instead of stained glass doors after all).   Being competitive can be useful 😉


Stained glass basics go like this:

  1. Draw a pattern
  2. Choose your colors
  3. Cut the glass
  4. Grind down the edges of the glass so they’re no longer sharp
  5. Wrap each piece in copper foil
  6. Solder everything together
  7. Apply a patina and polish your work and DONE!


Confession: I was doing this whole thing without a written pattern.  It would have ended up fitting together more nicely had I created an actual paper pattern first.  But it turned out pretty good anyway, I think.  Just don’t tell my students that a pattern isn’t always necessary 😉


TOTAL TIME: somewhere between 10-12 hours.

TOTAL COST: TBD. I have a lot of these supplies just laying around at home and it’s easy to forget about sunk costs….


So here’s my progression in pictures.  First, I roughed out the main colors:

BM-01

Continue reading “Build Madison 2015 & a stained glass window”

Glass Clay

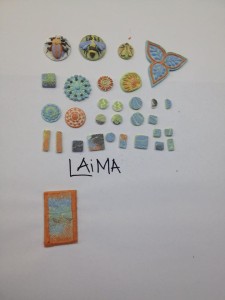
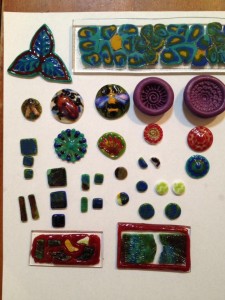
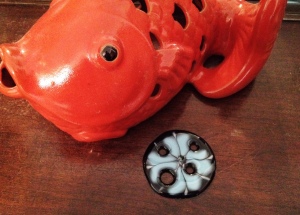
I took a class a couple weekends ago at The Vinery to learn about glass clay. Here are the first half of the results.


BEFORE firing:

glass clay BEFORE


AFTER firing:

glass clay AFTER

Dichro cabs

This week I learned that if my mom says she has energy to do [some stuff], and if I am at all interested in [some stuff], I really ought to take her up on the suggestion to do [some stuff] right away.

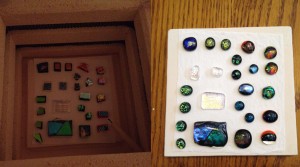
2015MarchCabochons-before-after

I missed my first opportunity to lure her into her studio, and the second opportunity came more than a whole day later, but that 2nd time she mentioned doing another firing, I jumped on the chance.  Here’s what we made – a bunch of iridescent dichroic cabochons (which I will eventually set in assorted silver jewelry).  The “before” is on the left, the “after on the right. Only one piece slid noticeably sideways during the firing, and then there’s that puzzling big piece in the middle of the front row that didn’t fire as thoroughly as the rest did.  Some kilns have inconsistent heat patterns (usually related to insufficient/inconsistent insulation near a front-facing door to the kiln) but the way this kiln is set up, there is no front-facing door, just a lid, so… I’m guessing it didn’t reach as high an internal temp as the other pieces just because it was considerably BIGGER than all the others.  The plan for that one is to cut it into chunks with a wet saw and fire-polish the edges, so the fact that it doesn’t have rounded edges is moot. I think it will still work.

Enamels & stamps on glass

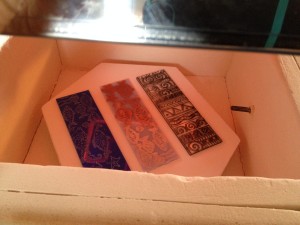
Three Glass Panels


Convinced my mom that we NEEDED to fire up the kiln to fire the enamel-stamped glass she started last fall.  Here’s a shot of the “before”. The orange-y red in this photo is from the kiln elements. I almost forgot to take a “before” picture and snuck this one even though the kiln was ramping up towards the “don’t you dare open me” temps.  No explosions, so I apparently remembered the important temps right 🙂

Score!!!

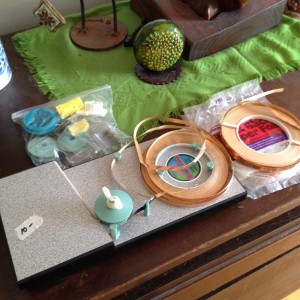
Surprise invitation @ lunchtime to go biking + estate sale shopping landed me with my very own copper foil tool and 5 rolls of copper foil for a grand total of $10.  SCORE!!!!

StainedGlassScore


Perhaps this is just what I need to get back on the 4-panel kitchen cabinet project.

Stained Glass – 2013 Garezera 3×3

In order to keep up with and demo stuff for a lady who was making a stained glass window hanging in our class, I put together this during the workshop in Michigan.  Next time, I will use the framing tools in order to ensure a stained glass item that actually is *rectangular*.  I’m almost inspired to begin those 4 glass panels for the cabinet in my kitchen…. almost.