Build Madison 2015 & a stained glass window

This year I’ve met a bunch of really neat people through Sector67. One of the opportunities that they introduced me to is Build Madison. Build Madison is a great chance to meet a lot of smart, creative people who like to make things *and* get help on your project, if you need/want it. You get 24 hours to finish. Anything goes.  And you get access to the tools at Sector.  If you have a minute, check out their timelapse video of the whole 24 hour event.


I decided it was high time to finish one of the four glass panels for my kitchen cabinet.  I didn’t really need any of the *stuff* they had at Sector to finish this but I needed the incentive to start & complete the darn thing (we’re going on year 6 of having a cabinet with clear glass instead of stained glass doors after all).   Being competitive can be useful 😉


Stained glass basics go like this:

  1. Draw a pattern
  2. Choose your colors
  3. Cut the glass
  4. Grind down the edges of the glass so they’re no longer sharp
  5. Wrap each piece in copper foil
  6. Solder everything together
  7. Apply a patina and polish your work and DONE!


Confession: I was doing this whole thing without a written pattern.  It would have ended up fitting together more nicely had I created an actual paper pattern first.  But it turned out pretty good anyway, I think.  Just don’t tell my students that a pattern isn’t always necessary 😉


TOTAL TIME: somewhere between 10-12 hours.

TOTAL COST: TBD. I have a lot of these supplies just laying around at home and it’s easy to forget about sunk costs….


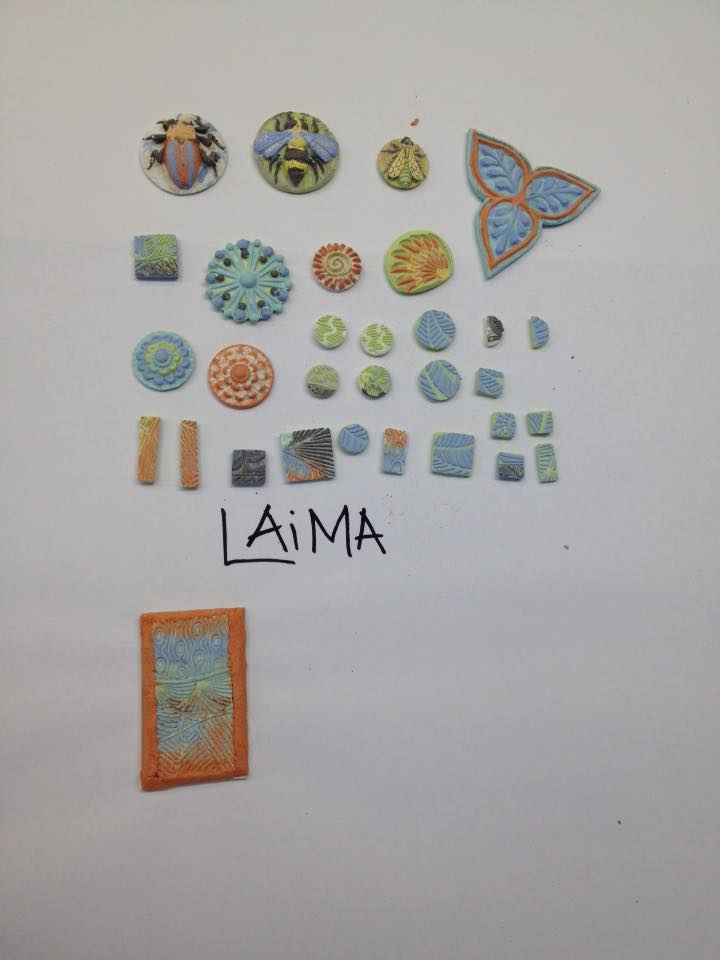
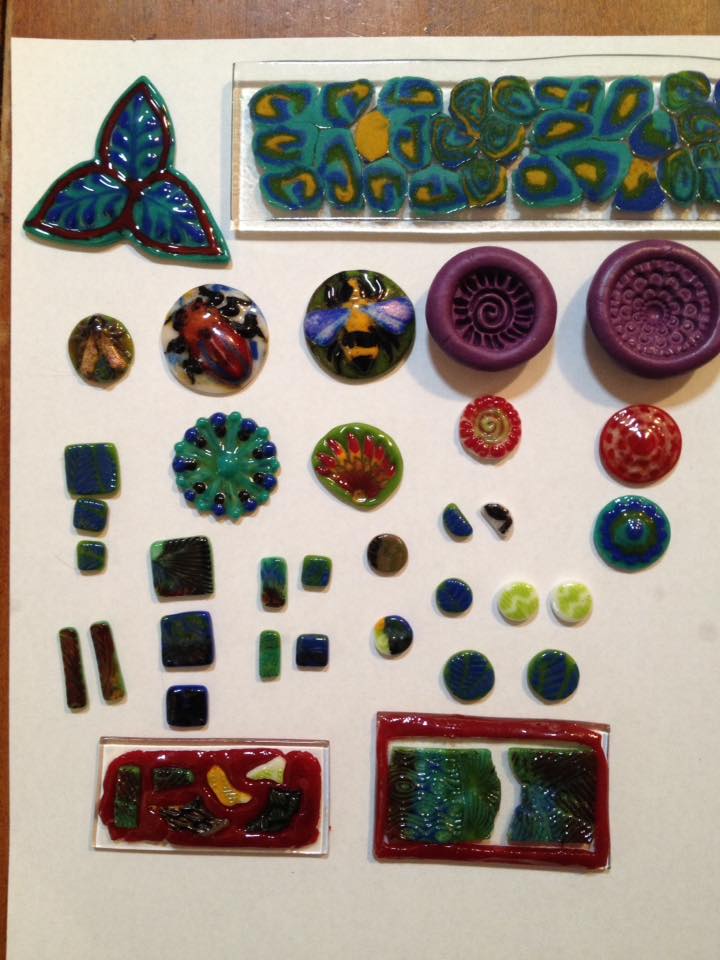
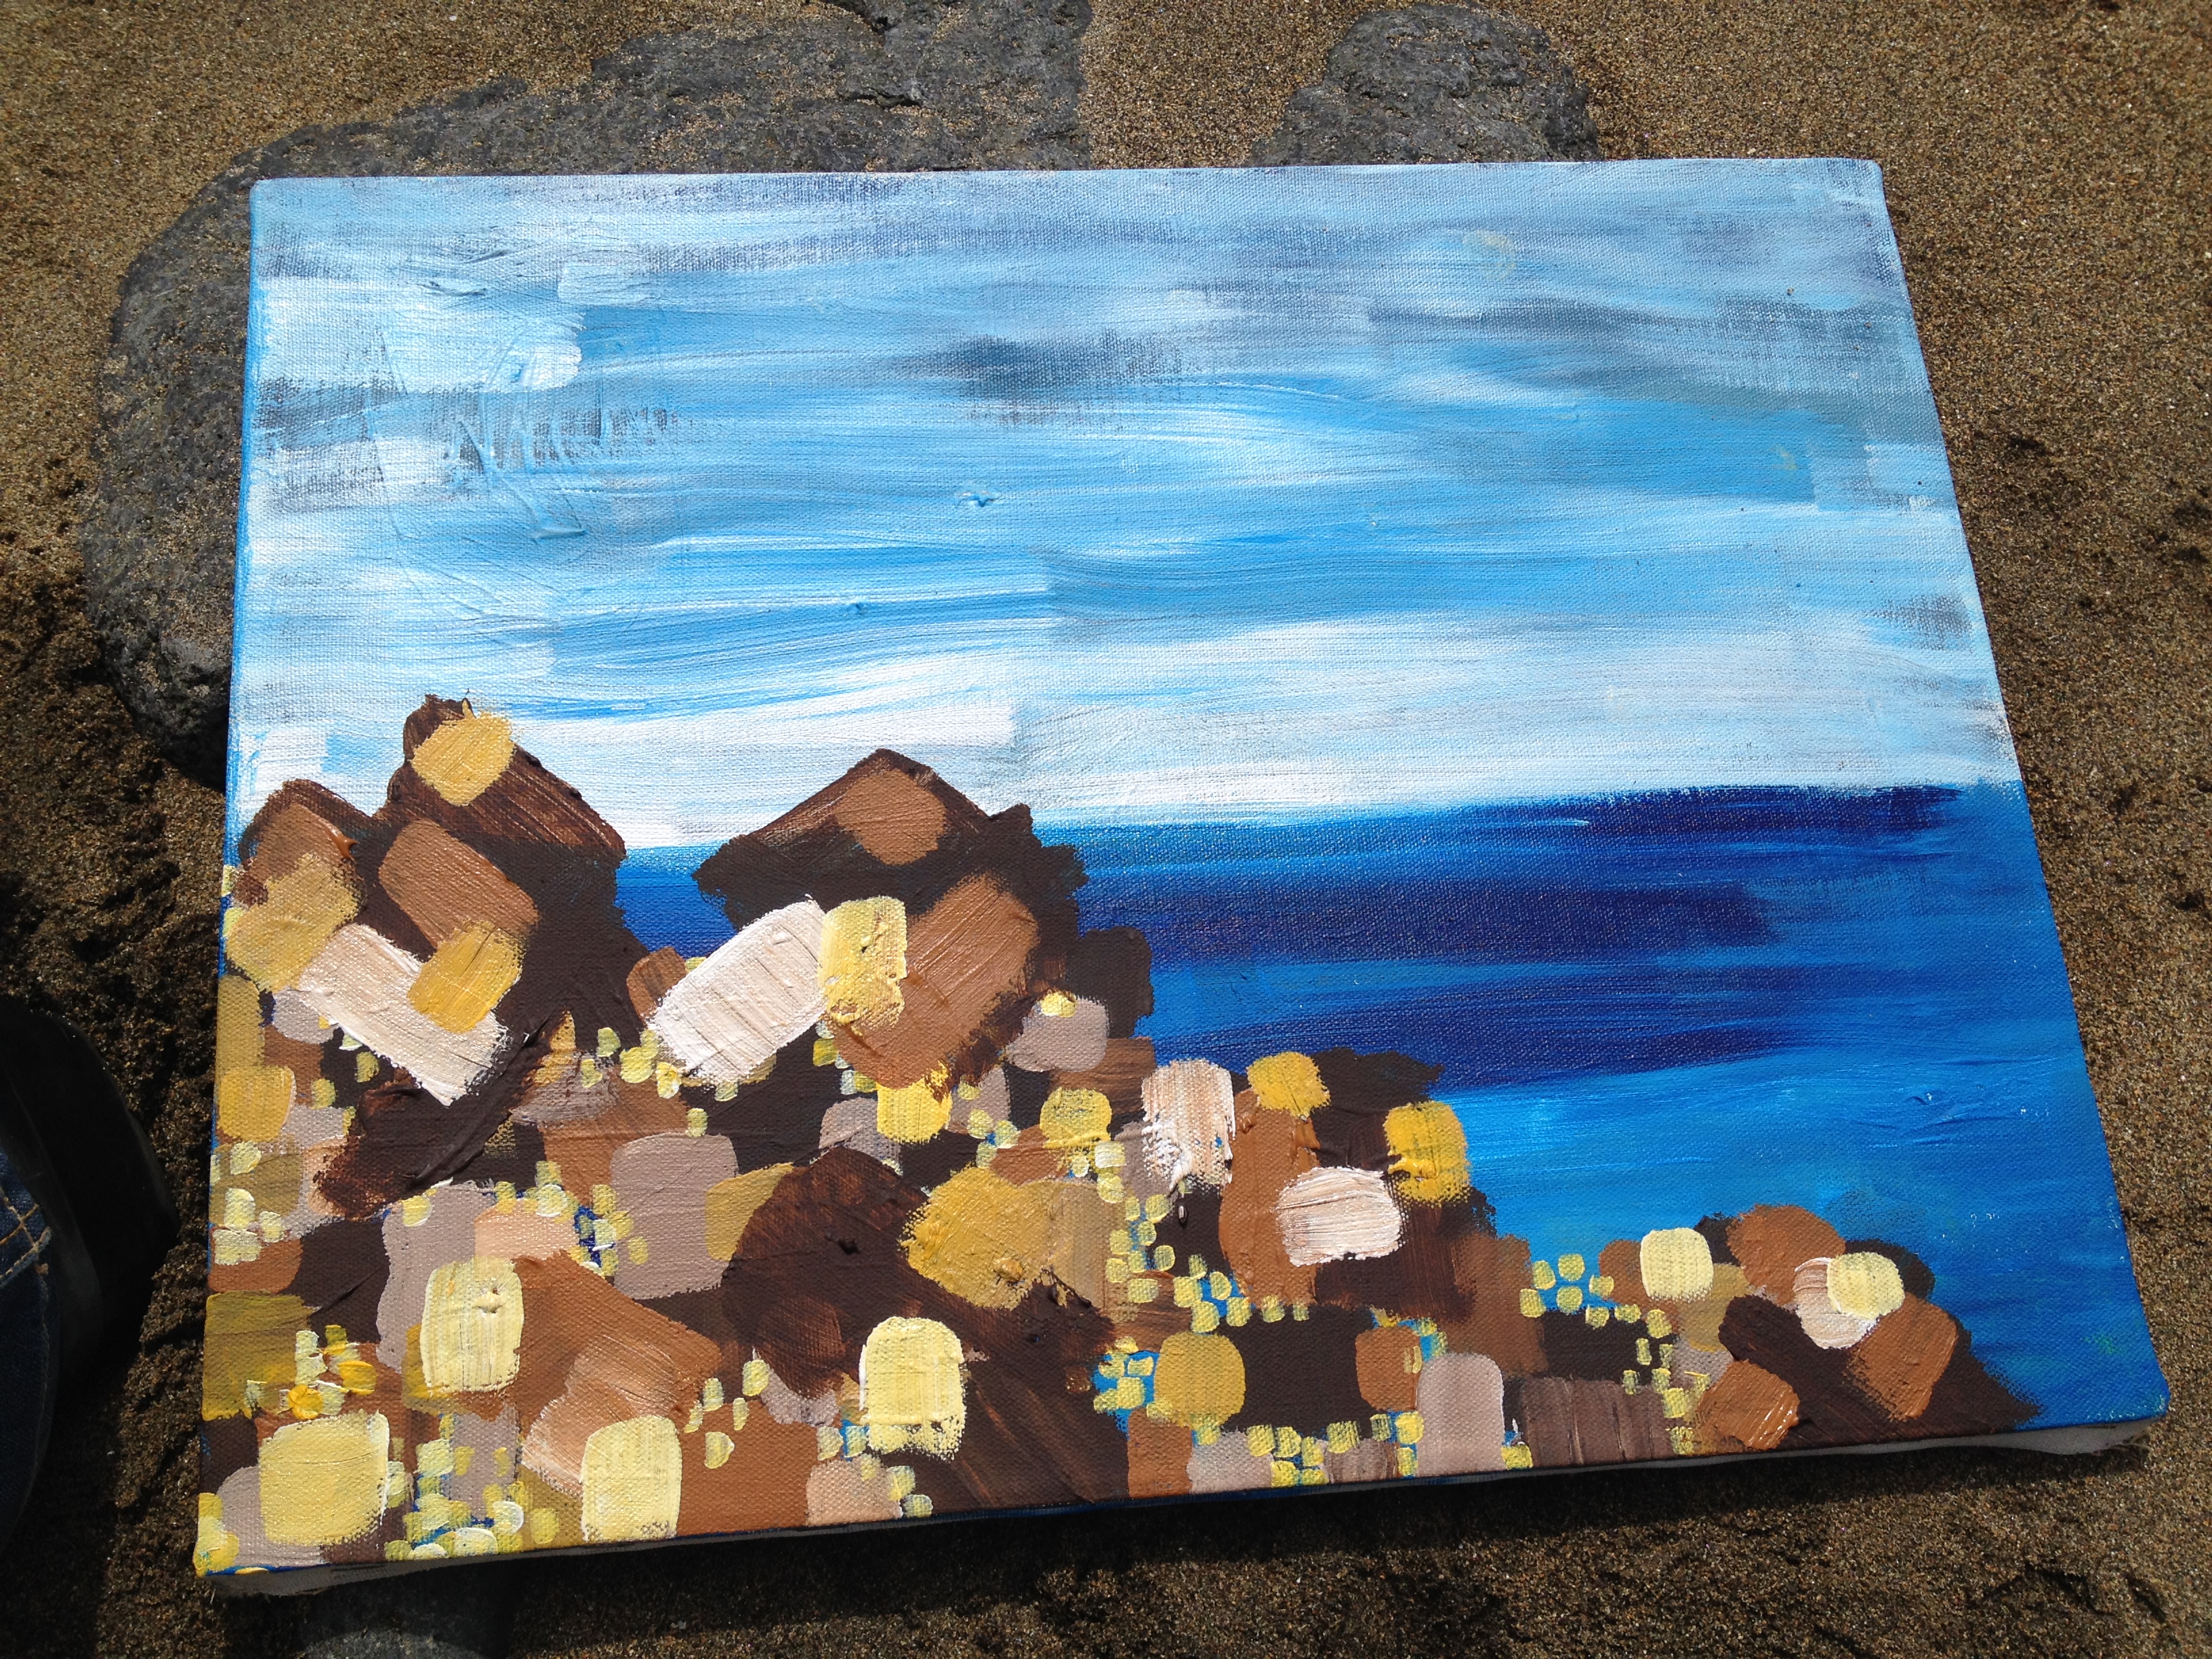
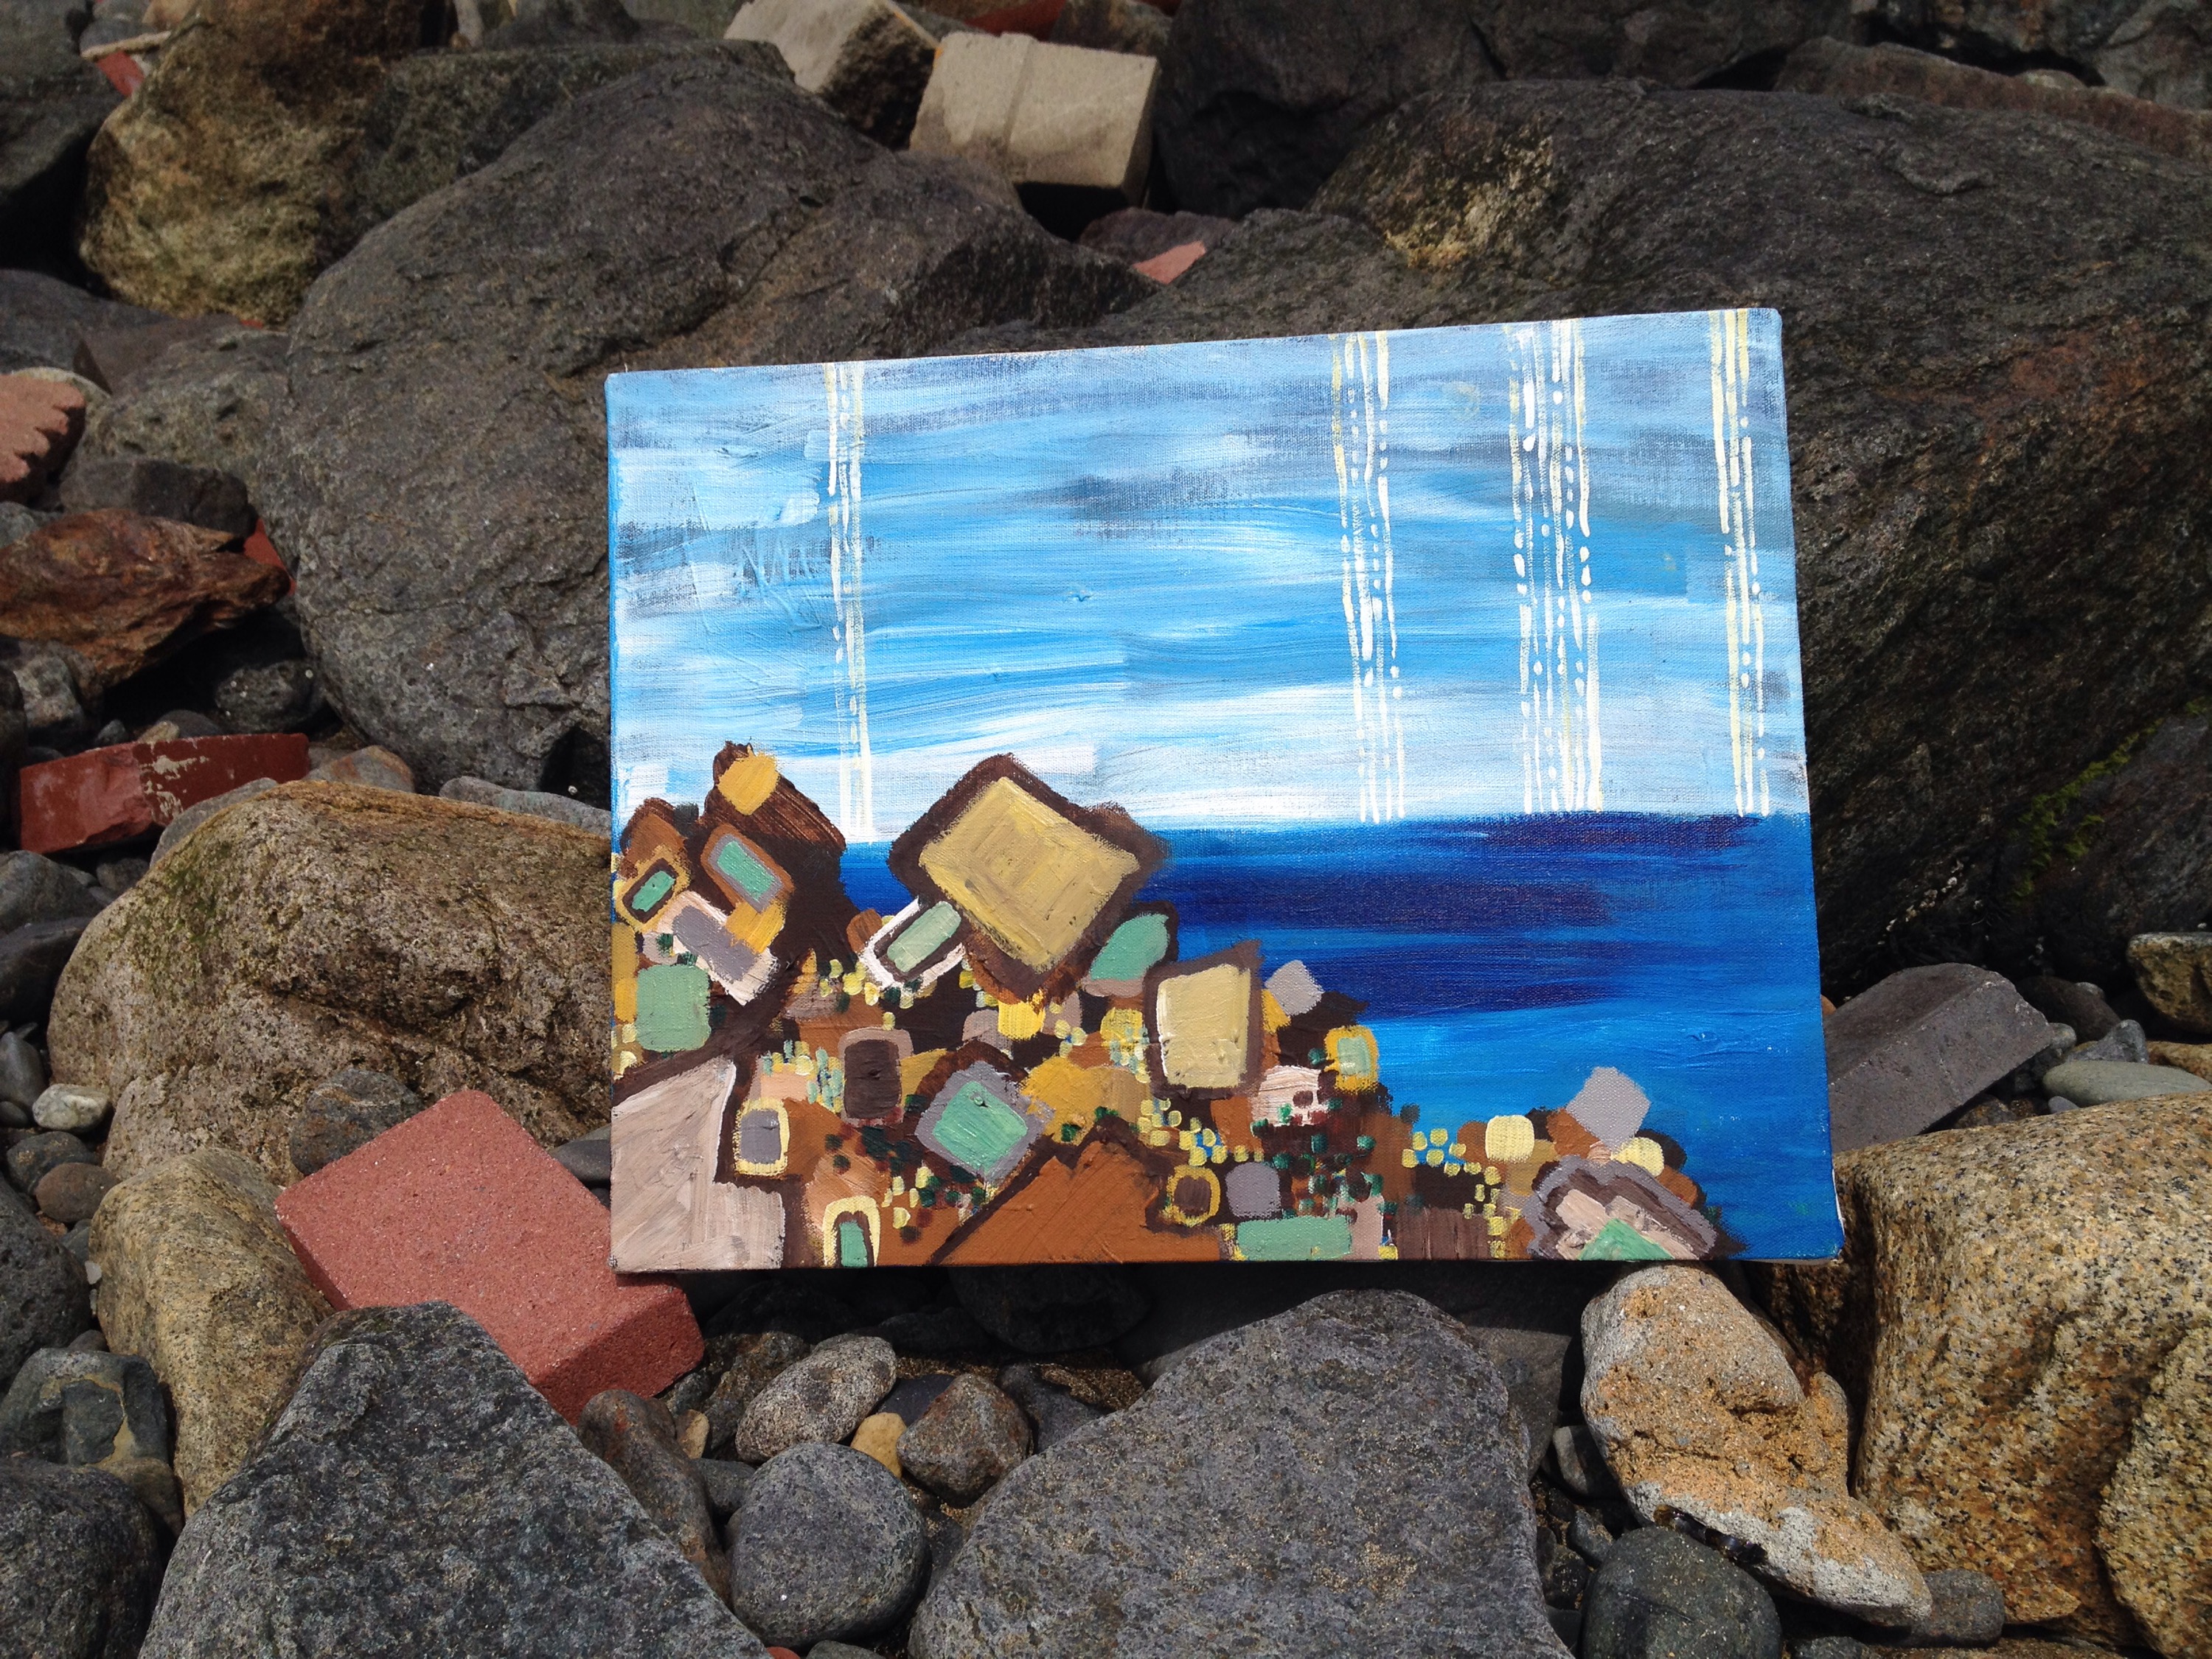
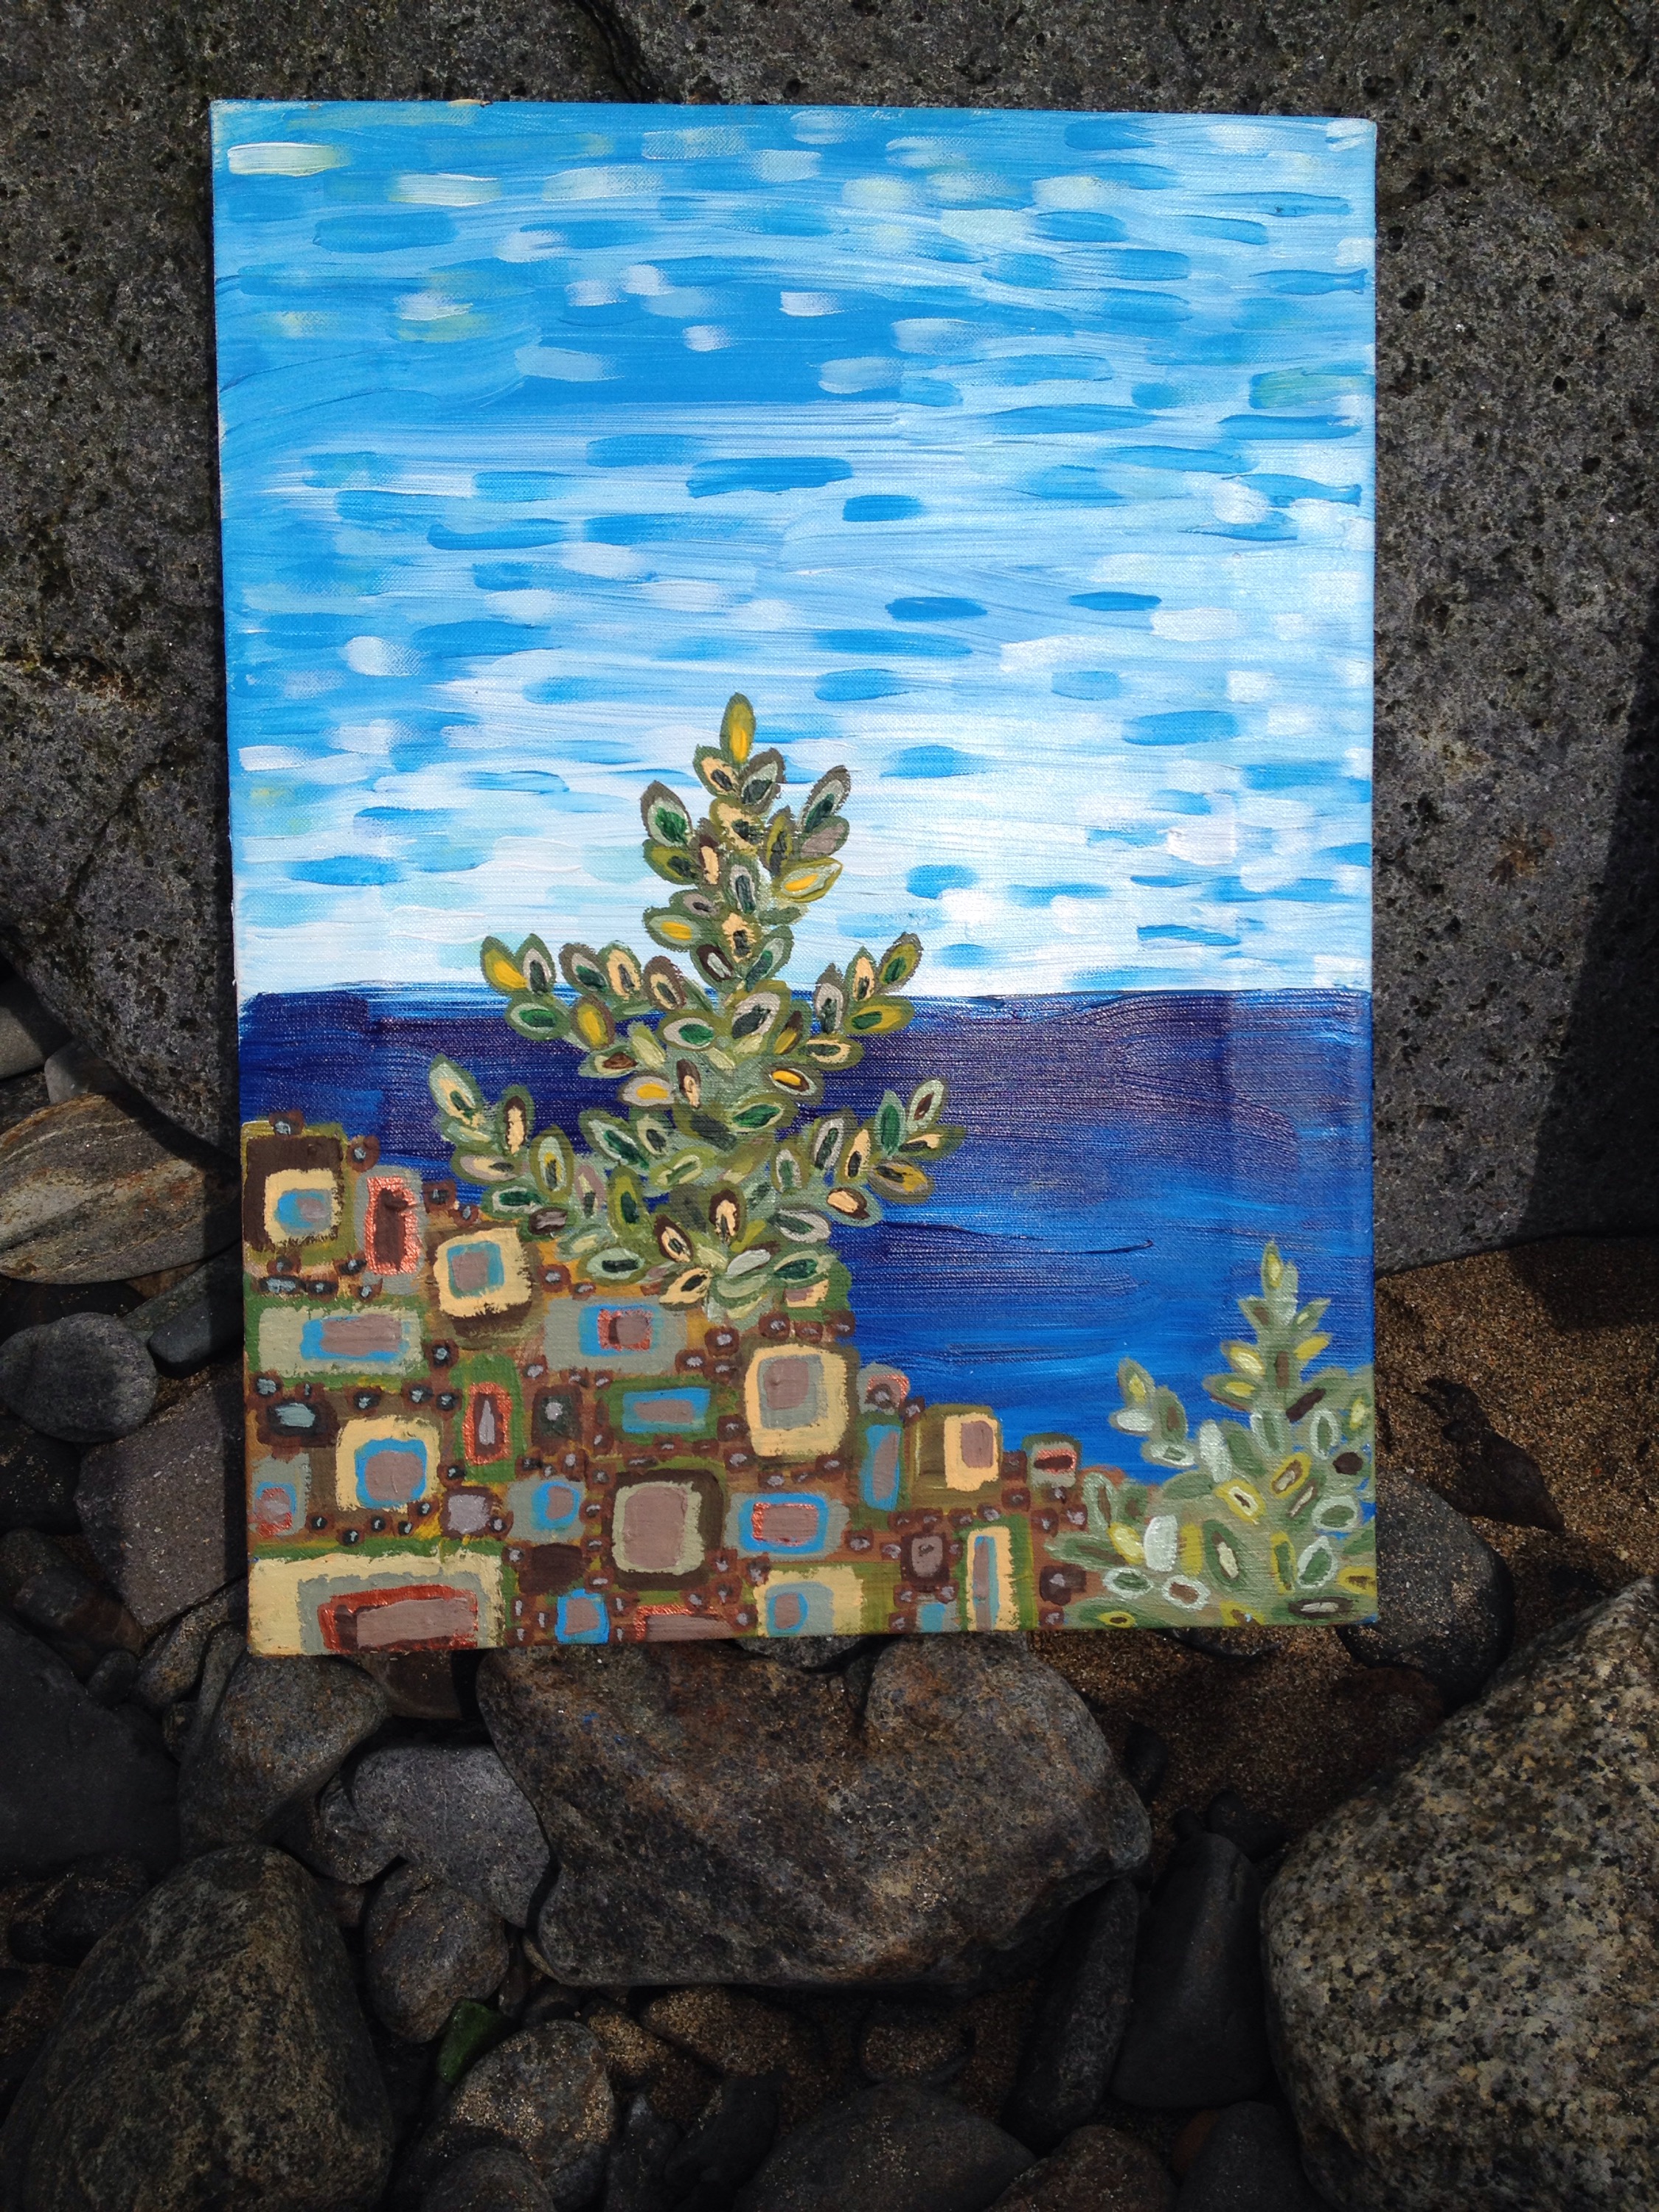
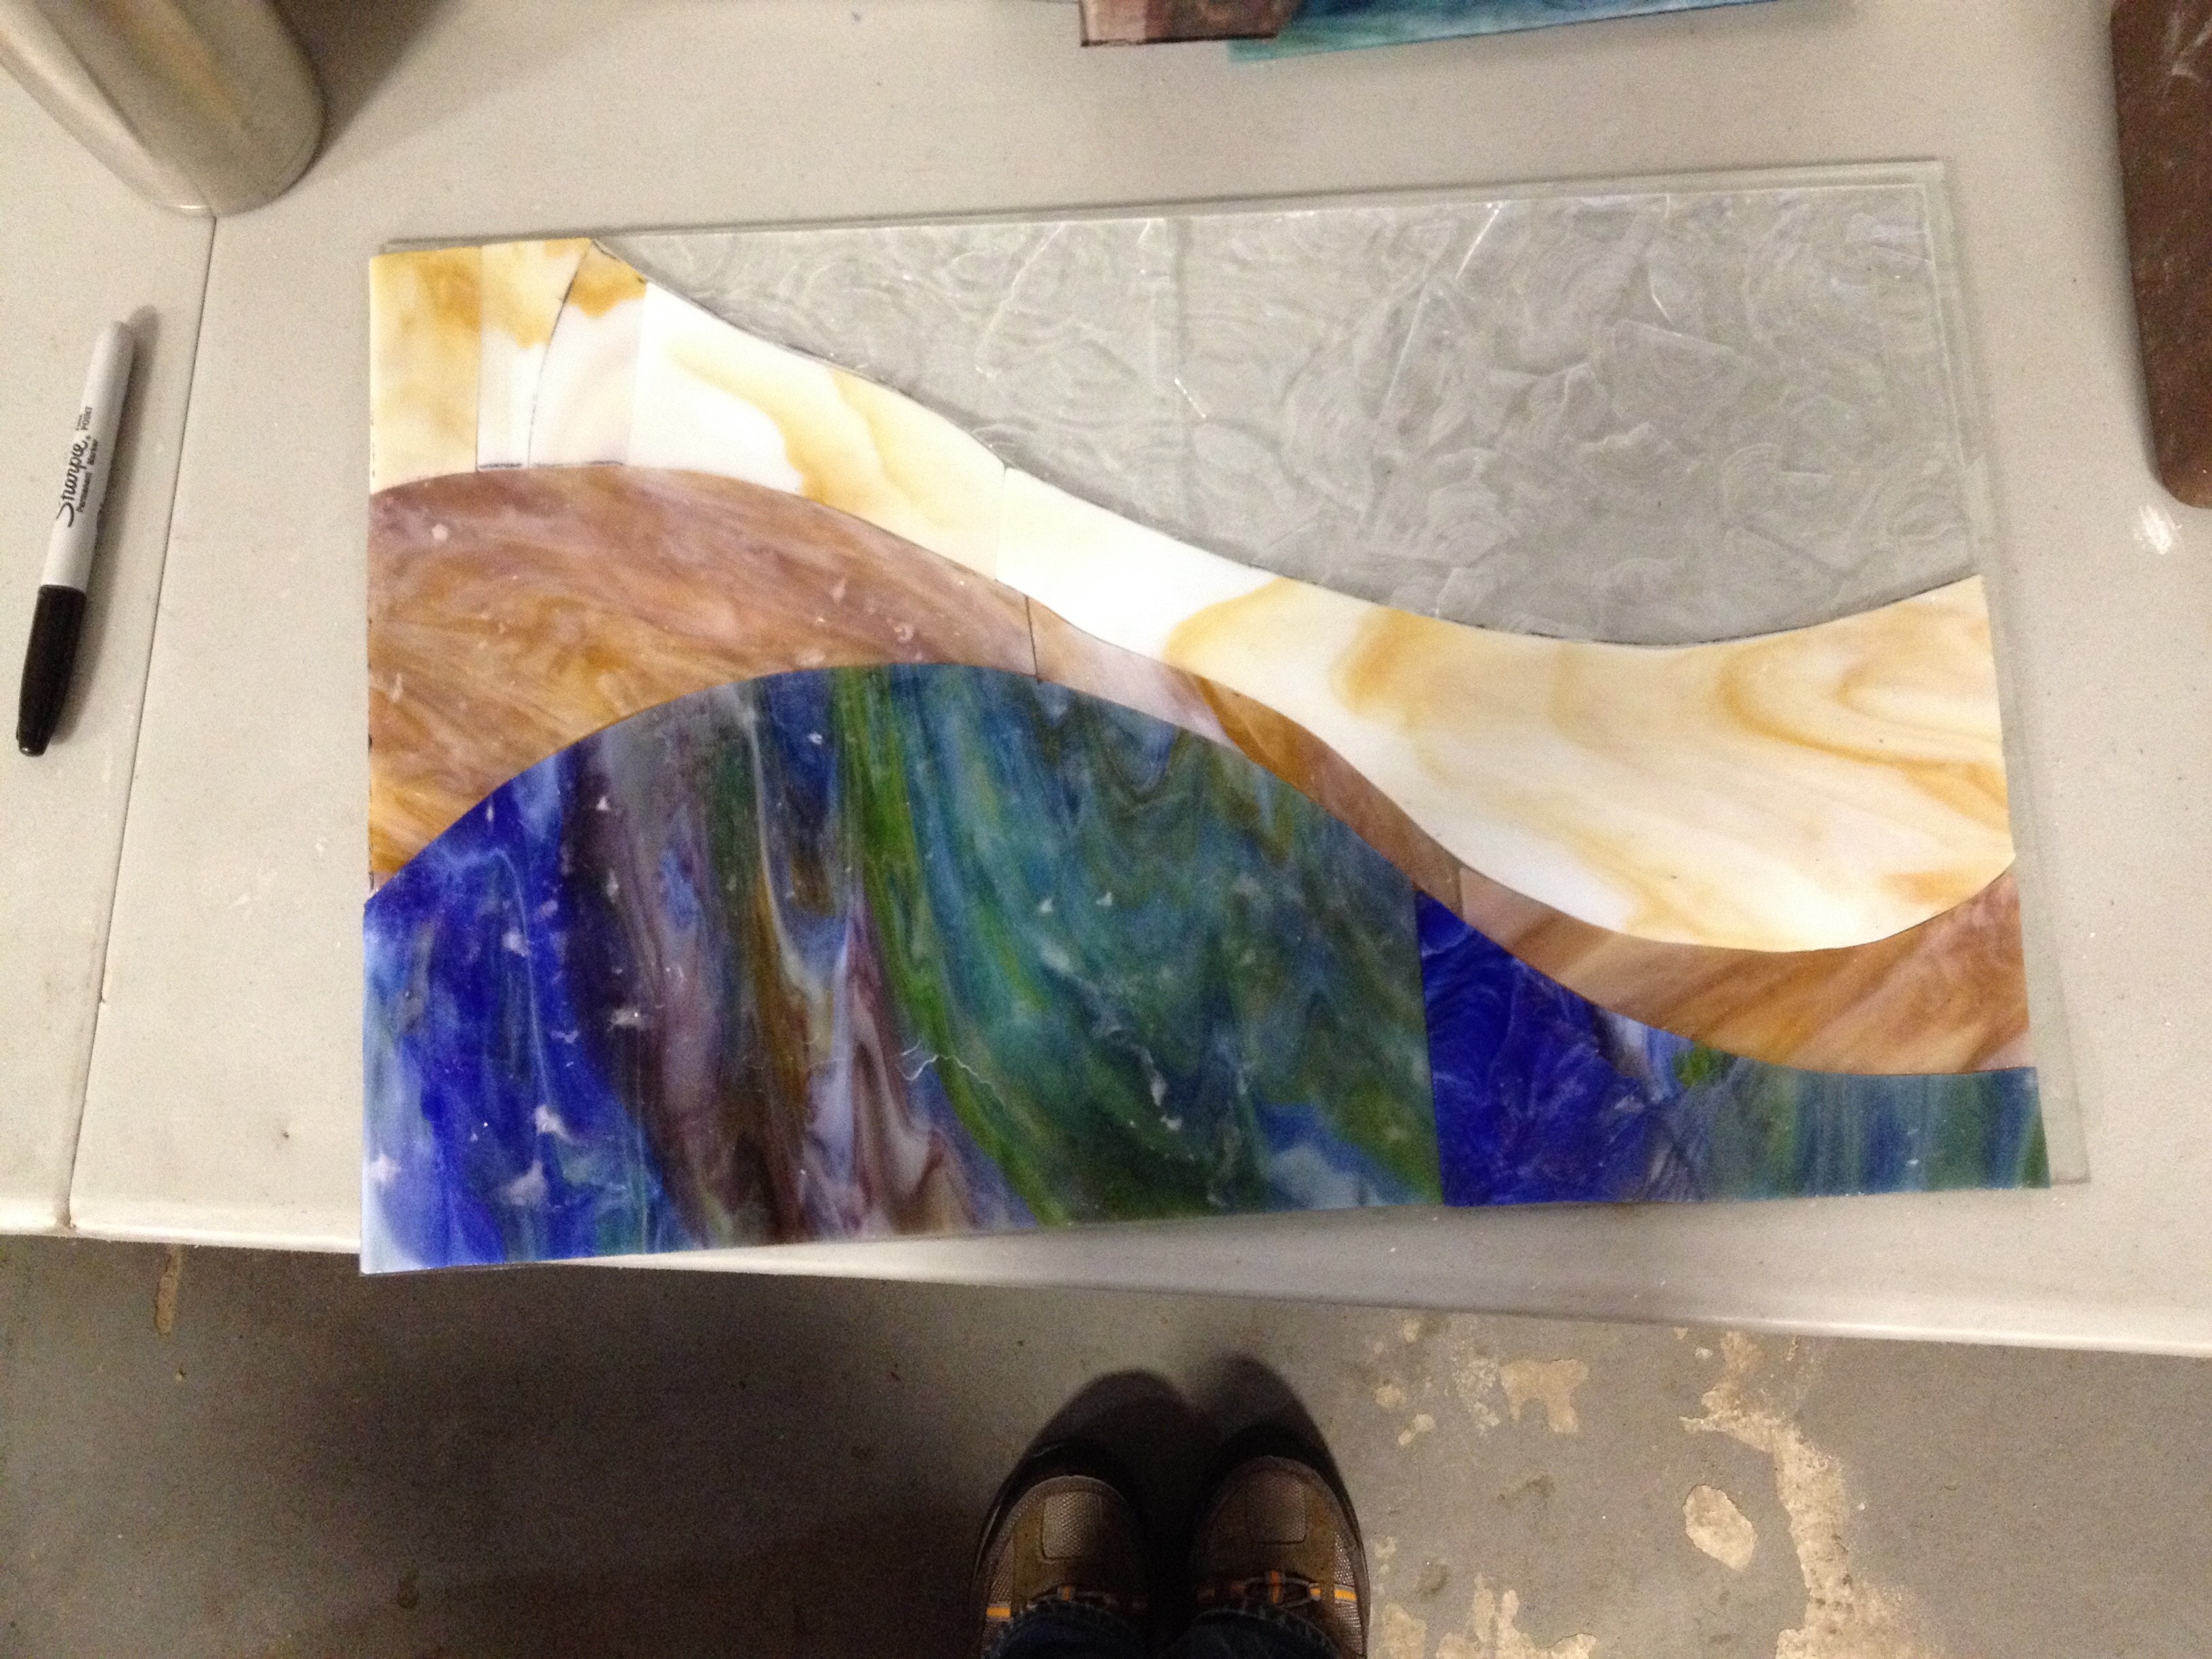
So here’s my progression in pictures.  First, I roughed out the main colors:

BM-01

Continue reading “Build Madison 2015 & a stained glass window”

Glass Clay

I took a class a couple weekends ago at The Vinery to learn about glass clay. Here are the first half of the results.


BEFORE firing:

glass clay BEFORE


AFTER firing:

glass clay AFTER

Patio in progress

I am assembling a small cement patio for under the wisteria trellis.

Cement patio in progress

So far, it’s made of 1 cement stepping stone I made as an example for a class I taught, and the bricks are found bricks (some people throw away perfectly good bricks!). I might have to break down and buy some bricks to finish this… My pile-o-scraps is not really working to fill this out into a nice rectangle right now

Refinishing a cabinet

Found this at a local thrift store and thought it was too cool to pass up.  I started stripping the old paint with enthusiasm….. but now I’m not so sure I like the look of the plain wood. Maybe this is a piece better suited to being painted after all? What do you think?


 BEFORE starting:

Cabinet BEFORE

AFTER some stripping on Day 1:

Cabinet AFTER some stripping

The weather has been nice enough (and I’m back in town) that I figure it’s time to start up on this project again.  I would love to put this in its place in my studio/office!

Monhegan Island inspired paintings

I recently spent 5 days on a small island 12 miles off the coast of Maine with a group of 13 other artists. It was an impulse purchase/decision I made at the end of January, and might be the best thing I’ve decided to do so far in 2015.

I started some 9 pieces, mostly acrylic, but a few watercolors, too.  Day 1 resulted in this:

Day 1 results


Here are the three most finished pieces: Blue, Bluer, and Bluest.

Blue - Phase 1Blue - Phase 2Blue - Phase 3Blue

(the progression of) Blue

————————————————————————

Bluer

Bluer

————————————————————————

Bluest

Bluest

A lesson in recycling

I had always been taught to use a container at my jeweler’s desk to catch metal filings, so I could melt those little bits and make more things…. but I never really took that seriously since I was working on things that seemed so small as to be inconsequential.  Well guess what.  Even though small, it adds up!  See those 10 little balls of silver near the top-middle of this picture?  Those are were made from  the metal filings from the other silver shown (like, literally I collected all the bits I filed off of all those circles shown in this picture).  HOLY MOLY.  What didn’t look like a very big pile of metal dust turned into something I use on other jewelry with almost no work on my part, other than to be a little more diligent about where my dust falls.


RecyclingSilver


I can’t believe how much silver I’ve wasted up til now.


O_o

Iron Owls

IronOwls


I didn’t make these, but I made them look like new. When I got them, they were rusty and the four little peg feet on the back had crumbling plastic covers.  My favorite gas station attendant helped me get these sand-blasted and then I spray painted them with a self-etching primer, followed by shiny black.  I luf them and they live on my kitchen island now (instead of in that box of broken things waiting to be fixed).  Picture on the left is with flash, right is without. I couldn’t decide which I liked better, so I am using both.

A few new paintings


Poppies


Maybe keeping better track of what I make when is in order.  I’m not sure when I made these other than it’s sometime since October.  Yeah, we’ll say these are from October 2014.  Or November.


20kmWalk